Sunday, January 22, 2012

Winter Cityscape

Supplies:
White or grey construction paper
White oil pastel
Pencil
Blue water color
Paintbrush

I love cityscapes and this project turned out to be really fun.  I got the idea from this book (which was one of my favorite Christmas presents this year... that and the awesome art calendar I got from my third grader in Mrs. Guerrero's class.  They worked hard on a lot of great art projects).

First, I talked to the class about reflections: where they see them, how they are made, and asked if they have ever seen reflections on a lake or river.

Next, we took a sheet of white construction paper, positioned it horizontally, folded it in half to get a long horizontal crease line in the middle of the paper.  We unfolded the paper and drew a thick solid line right on that crease to establish our horizon line. (The horizon line represents where the sky meets the flat earth). 

Then we drew a simple cityscape of rectangles and squares rising from the horizon line. (Ask the students to push firmly on the oil pastels to get a good, waxy drawing).  We talked about depth and perception and how it looks more realistic to draw the buildings almost as if they were growing out of each other rather than each individually.

*Note, if we'd had grey paper, it would have been easier.  The white oil pastel on white paper was a little hard to see.  I will work on getting some grey paper in our supply. 

After they had drawn buildings, they added stars, a moon, windows in the buildings, and other details.

Next, we folded the paper in half again, and rubbed the back side of the paper with a pencil. They need to rub hard to get the drawing to transfer to the bottom half of the paper.  When you open the paper, the drawing should have lightly transferred to the bottom half. 

Then, paint the top half of the paper with a dark blue watercolor.  The pastel will resist the paint.  Next, paint the lower half of the drawing with a lighter blue. 


The "resist" reflection showed up better on some than others, but they were still pleased with the outcome.

Monday, January 9, 2012

Salt Dough Sculpture

I'm on a snowman kick this week... this is a fun project for grades K-2.  The night before the lesson I made salt dough with this easy recipe.  I gave each child a ball and let them play with it while we talked about and looked at pictures of sculpture.  (You can check out The Art Book from the school library for examples).

Then, we made simple snowmen by rolling out three balls: small, medium, and large and stacking them on top of each other.  I gave each child a handful of cookie sprinkles to use for eyes and nose, and two toothpicks to use for arms.  (note* I purchased these myself.  We don't have these in the art supply room).

We left the snowmen in the classroom over the weekend so they could dry out and then the kids took them home the next week. 

This is not a great picture, and the poor guy has last an arm, but this is the one my now 2nd grader made back in kindergarten.

The kids loved sculpting.  You could make different shapes or ornaments as well.

Winter Landscape

Since the weather was a balmy 5 degrees when it was time for school to begin today... I decided to go with a snowman theme for our lesson this week.  I got this idea from Deep Space Sparkle.  (You've got to check out this blog.  She has so many great ideas with easy instructions.  At the top there is an "art lessons" tab with lessons organized by grade level, or if you scroll down the home page, on the bottom right there is a "category column" where the lessons are organized by seasons, themes, etc.)

We are going to do the Easy Winter Landscape lesson this week.


I'm going to incorporate this book Snowmen At Night.  Have you read it?  It has awesome illustrations. 

 I had the kids look at the trees in this book closely.  We also looked at the trees outside the classroom window and noticed their shape and color, especially the colors of the trees up close (more dark) and the colors of those in the distance (less dark).

Next, we started with our blue sheet of paper and drew a light pencil line horizontally through the middle of the sheet.  Then we painted the entire lower portion white.  I had mixed a light grey color before we started for each student combining white and a small drop of grey paint.  We used this light grey color first and painted two trees starting from the base of the white line.  Then we used the regular grey paint for two trees, starting in the middle of the white "snow."  Last, we painted two black trees starting about an inch from the bottom of the sheet.  The varying distances makes the perspective look great.  Last, we painted a little snowman.


I think this lesson could be used for any age. The older grades could add more details although I wish we'd had more narrow paintbrushes.  It was hard to make thin branches.

Monday, January 2, 2012

Pointilist Snowmen

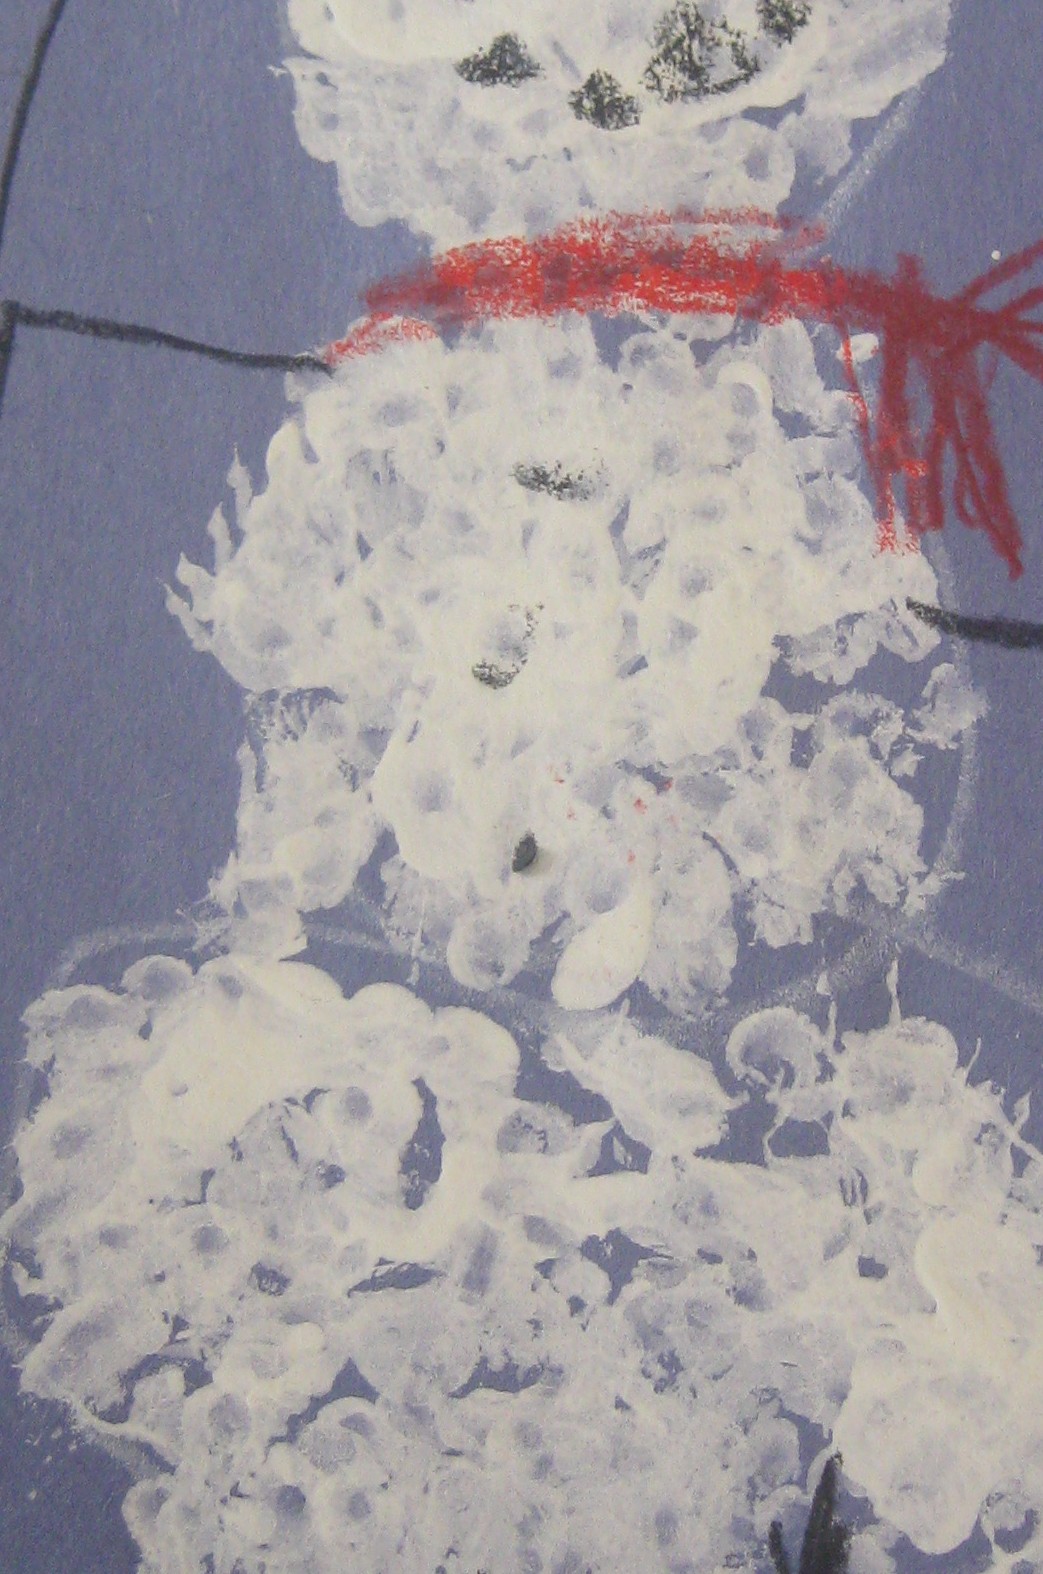
This is an easy project for younger grades with a unique approach: dot painting (similar to pointillism) using q-tips. 


When I taught this to first graders last year, we talked about the artist Georges Seurat and I showed them An Afternoon at La Grande Jatte, (you can check this out from the school library, PIC 198).


We talked about pointillism and looked closely at how the brush strokes differ from other kinds of painting.  The kids were very excited to try their hand at this.  We started with dark blue construction paper.  They were instructed to draw three circles: large on bottom, medium in the middle and small on top.  Next we dipped q-tips in white tempera paint and filled the circles with dots.  When the paint was dry, they used crayons to draw hats, scarfs, eyes, boots, and background details.

Here is a close up of the "dot painting." 


*Note* we don't have q-tips in the art supply room, so you would have to provide them yourself.  Luckily they are cheap!

Tuesday, December 6, 2011

Nutcracker Series

This was a two-week project and the kids loved how it turned out.  I used this sketch from Art Projects for Kids and walked the kids through step by step directions of how to draw a nutcracker.  I used regular computer paper (8 1/2" x 11") cut in half length wise.  They drew the nutcracker on both pieces of paper (thus, a series).  Next, they outlined their drawings with thin, black sharpies.  This is as far as we got on the first lesson. 

Week two: We used watercolors for one of the nutcrackers and oil pastels on the second.  Then we pasted them on black cardstock because everything looks better when it is framed in black, right?  (I also tried drawing the nutcracker on black cardstock -with white colored pencil, and then colored in with pastels on the black paper.  It looked really nice).

The kids were so excited to take these home.


Tuesday, November 15, 2011

Fall leaf collage

Supplies:
White Paper
Watercolors
Construction paper: red, yellow, orange, brown
Scissors
Glue


I got this project idea from the Art Projects for Kids website.  (I love this website!)  Tomorrow we will be doing this with kindergartners and Friday with third graders. 

First, we will talk about collages and different kinds of things you could use to make a collage.  Next, we will paint a simple blue on top and green on bottom background.  While that dries, the older kids will cut out leaves.  (I am going to use colored construction paper rather than have them use watercolors for the leaves so we can finish it in one class period). 

For the kindergartners, I have precut the tree shape and leaf shapes.  We don't have as long of a lesson time with them, and I didn't want to run out of time.

Then we will glue it all together.  I will post pictures of their results later this week!

Tuesday, November 8, 2011

Silouette Landscape

Supplies:
Water colors
White Paper
Black Paper
Glue
Scissors

I recently saw these awesome sunset pictures hanging outside of Mr. Nelson's classroom.  Art volunteer, Meg Powell did these with his class, and I love them!  I found a similar lesson with instructions here.


It reminded me of the illustrations in one of my kid's favorite books, The Day the Babies Crawled Away by Peggy Rathman. 


(She also wrote Goodnight Gorilla, 10 Minutes till Bedtime, Office Buckle and Gloria.)


For our lesson last week with Mrs. Guerrero's class, I first read this book to the class and told them to play close attention to the illustrations.  Then we made our own landscape silouette pictures.

First, we painted the sunset with watercolors on white paper.  Since this was the week before Halloween, I had them stick to orange, purple, yellow and red to look more spookey.  However, this would be a really fun project any time of the year.  Rather than use spookey cutouts, you could do regular houses and trees.

While the watercolors were drying, I showed them how to draw some basic tree, moon, stars, gravestones, and bat shapes.  They practiced on scratch paper.  Then they drew their shapes on black paper with white crayon.  Next, they cut out the shapes.  Then we glued them on top of the watercolor when it was dry.

The results are really cool and somehow I accidently deleted all the pictures I took but this one!  (Argh!)